
How to Clean Silverettes: The Right Way to Keep Them Shiny and Safe
Silver naturally darkens over time — here's exactly how to clean your cups without damaging them or reducing their effectiveness.
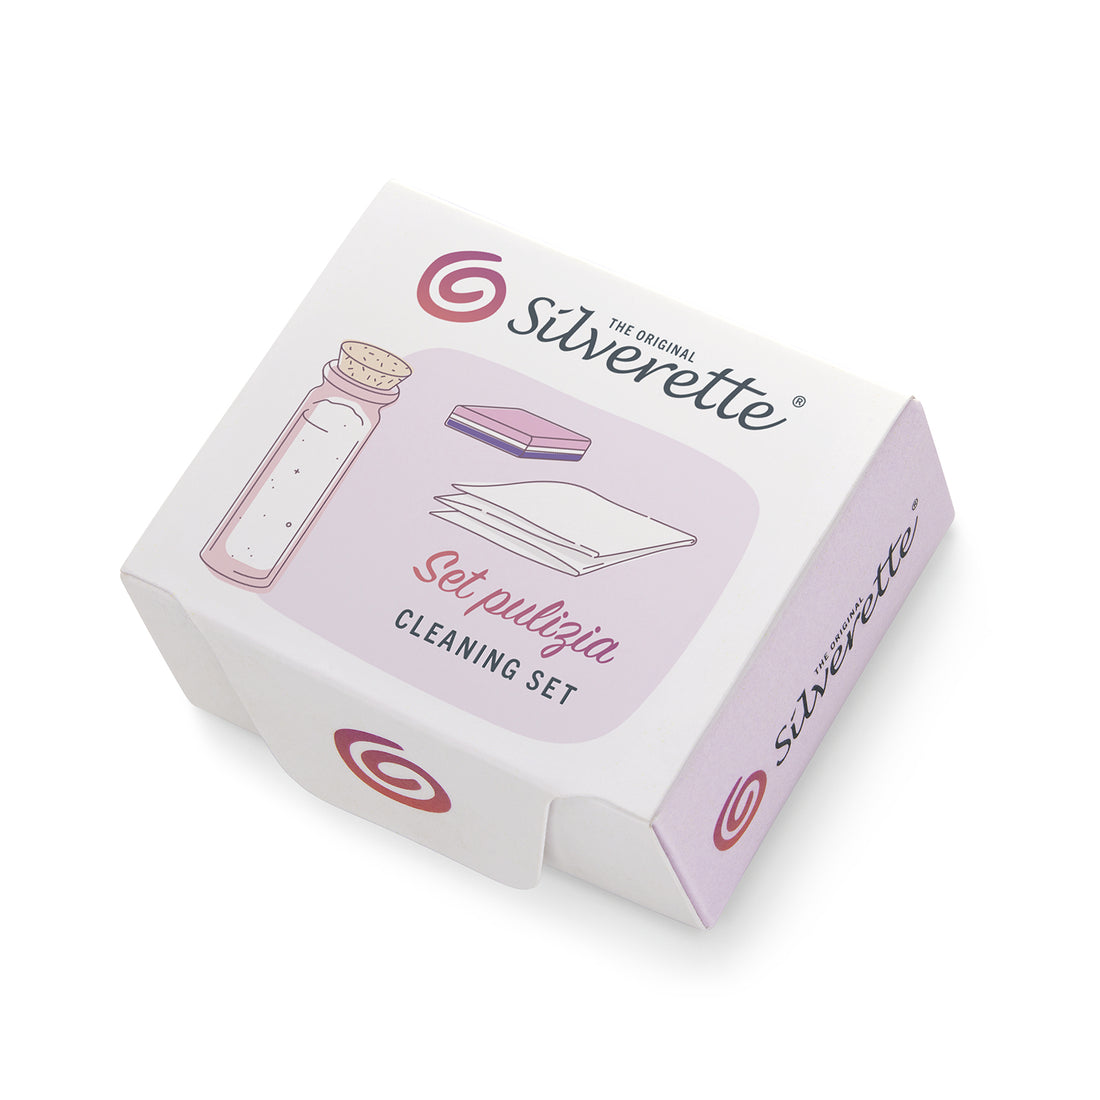
If you've already read what Silverettes are and how to use them day to day, cleaning is the last piece of the routine — and it's the one that trips people up most, mainly because sterling silver behaves differently from stainless steel or plastic. Here's exactly how to keep your cups clean, shiny, and working the way they should.
Daily Cleaning: What to Do After Every Wear
Rinse with warm water as soon as you take the cups off, to remove any milk residue before it dries.
Dry them thoroughly with a clean cloth or let them air dry completely before storing or wearing them again — leftover moisture is the main cause of staining and faster tarnishing.
That's it for daily maintenance — no soap, no sterilizing, and no special equipment needed. This simple rinse-and-dry habit is usually enough to keep your cups in good shape for weeks at a time.
Deep Cleaning: How to Remove Tarnish
Sooner or later, you'll notice your cups looking a little dull or yellowish. This is completely normal — it's called tarnish, and it happens to all sterling silver over time as it reacts with the air, not because of anything you did wrong.
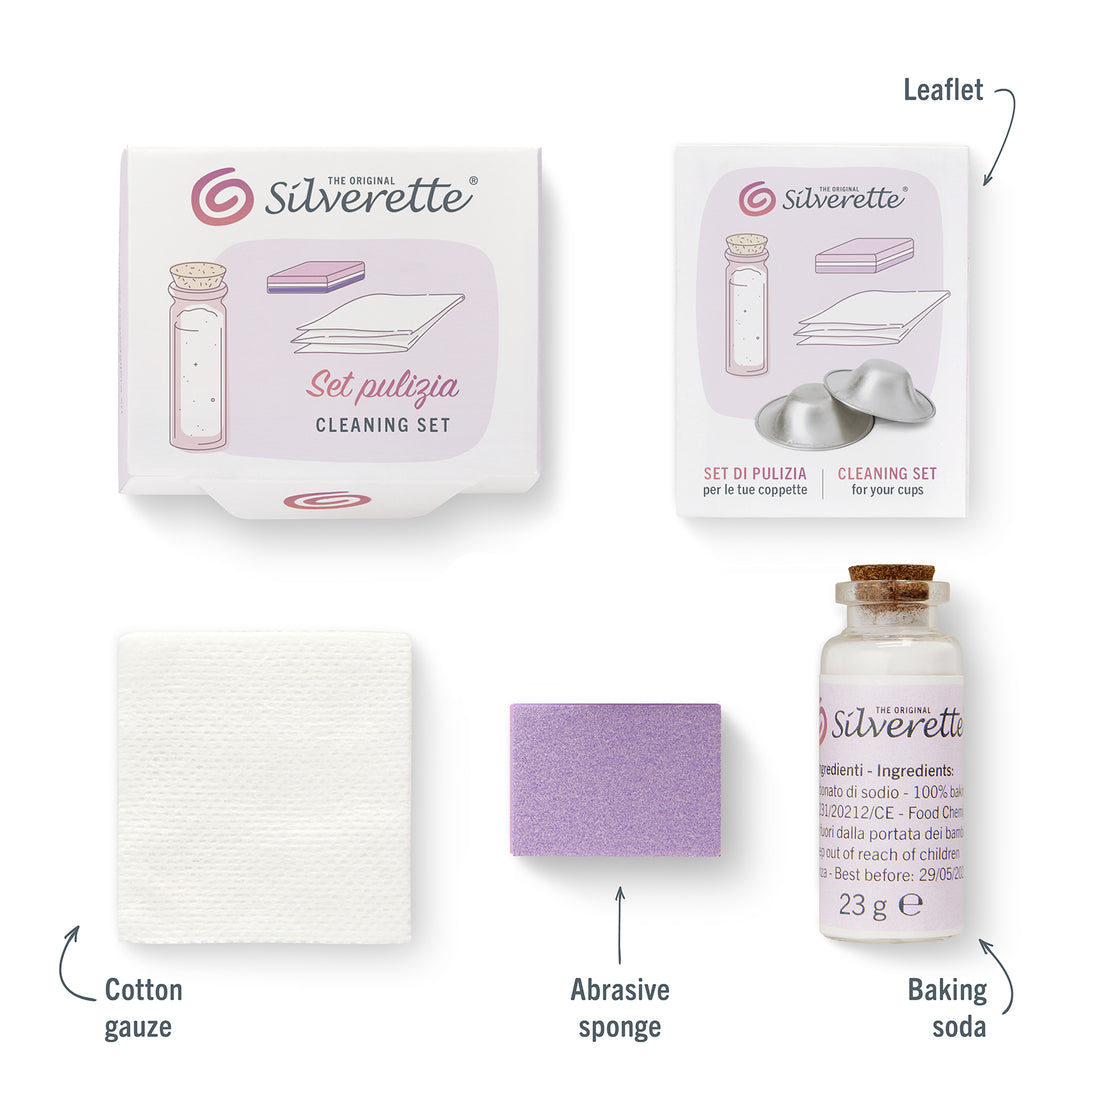
Make a paste using a small amount of baking soda and a couple of drops of water, mixed until it's thick and creamy.
Rub the paste gently over the entire surface of the cups using your fingers or a soft cloth.
Rinse thoroughly with warm water to remove all traces of the paste.
Dry completely before wearing or storing — this step matters more than people expect, since damp silver tarnishes again faster.
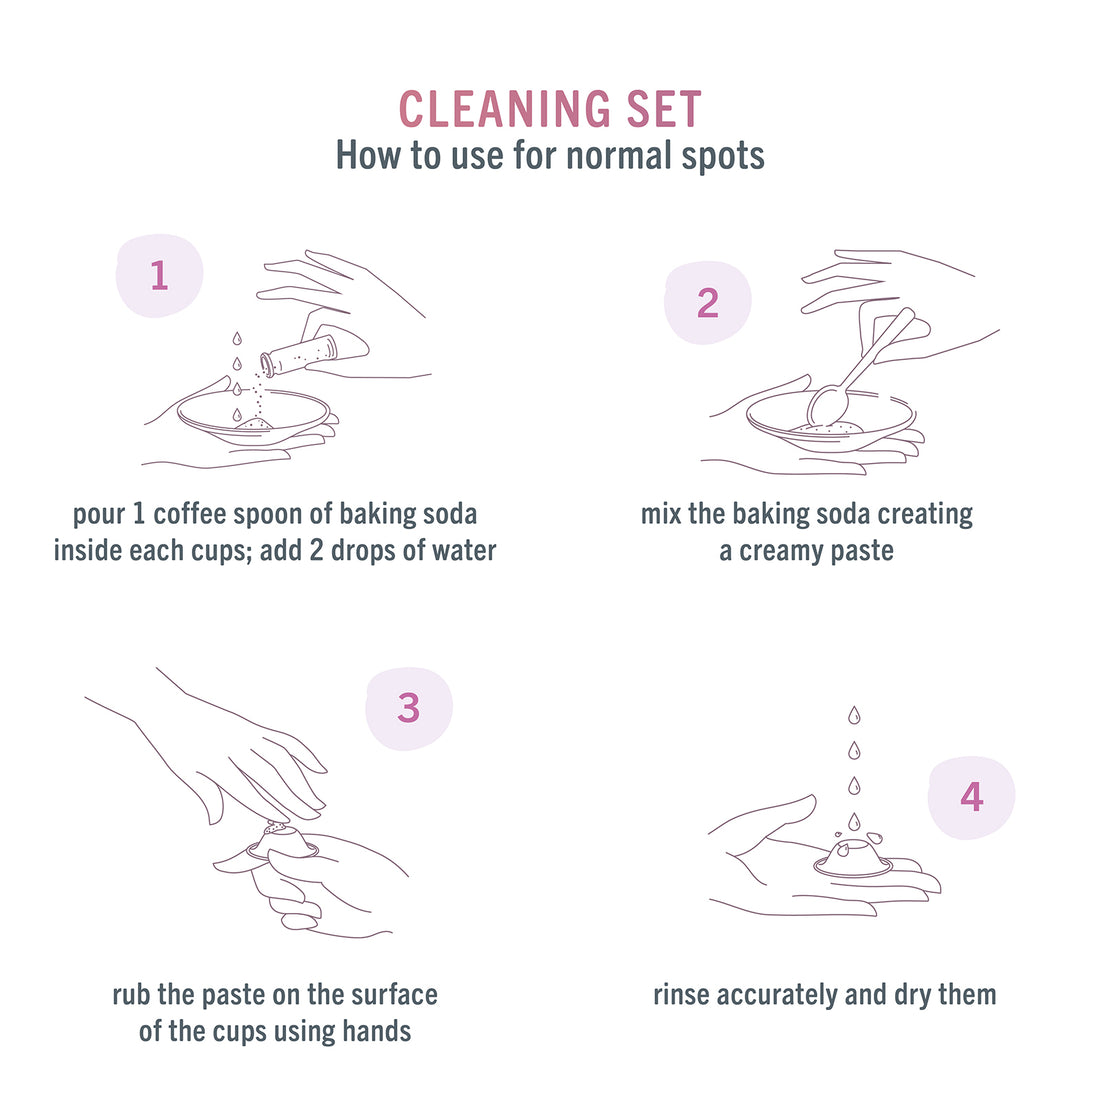
If a spot is more stubborn, gently going over it with a soft abrasive sponge (like the one included in a dedicated cleaning kit) can help lift stains that the paste alone doesn't fully remove.
Why Does Silver Tarnish in the First Place?
It's not dirt and it's not a sign your cups are wearing out — tarnish is a natural chemical reaction. According to chemistry researchers at UC Davis, silver reacts with trace sulfur compounds in the air to form a thin dark layer on the surface, and baking soda helps reverse that exact reaction. Knowing this can be reassuring — a dull cup isn't a defective cup, it's just chemistry doing what silver naturally does.
What NOT to use on your Silverettes:
Never boil them, never put them in the dishwasher, and avoid bleach or harsh disinfectants. Silver is naturally self-disinfecting, so strong chemical cleaners aren't necessary and can actually damage the surface over time.
Does Tarnish Affect How Well Silverettes Work?
No. Tarnishing is purely cosmetic — it doesn't reduce the antimicrobial or soothing properties of the silver underneath. Many moms simply clean their cups every week or two, or whenever they notice visible dullness, rather than worrying about it daily.
How Often Should You Deep Clean?
There's no strict schedule — it really depends on how quickly your cups tarnish, which varies from person to person based on skin chemistry and environment. A quick warm-water rinse after every wear, paired with a baking soda clean whenever you notice dullness, is generally enough to keep them looking (and working) their best for years.
Daily: rinse with warm water, dry thoroughly.
As needed: baking soda + water paste to remove tarnish, rinse, dry.
Avoid: boiling, dishwasher, bleach, and harsh disinfectants.
Quick FAQ
Can I use vinegar or silver polish instead of baking soda?
It's best to stick with the baking soda and water method — other cleaning solutions and disinfectants aren't recommended, as they can interfere with how the silver works.
Is tarnish a sign my Silverettes are fake or defective?
No — tarnishing is a normal characteristic of genuine sterling silver. In fact, cups that never tarnish at all are more likely not to be real 925 silver.
Do I need a special cleaning kit, or will any baking soda work?
Plain baking soda from your kitchen works fine. A dedicated cleaning kit is simply a convenience — it comes with a pre-measured cloth and soft sponge so you don't have to improvise.
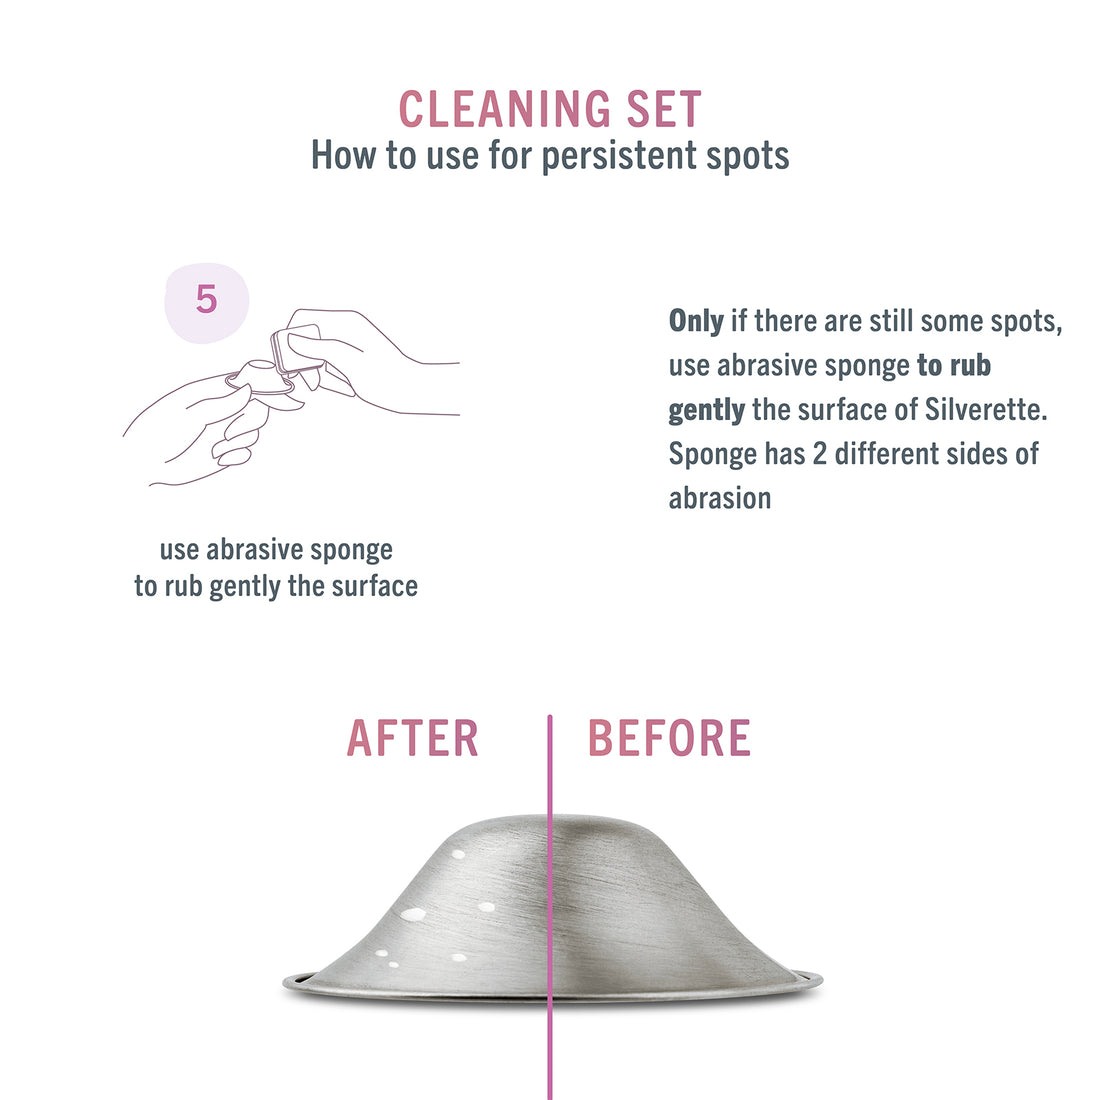
Silverette Cleaning Kit
$14.99
Check Today's Official Price →✓ Includes baking soda & soft cloth · ✓ Abrasive sponge for stubborn spots
Tip: Keep the cleaning kit next to your Silverettes storage spot — a 30-second rinse right after each use prevents most tarnish before it starts.
Don't have your Silverettes yet?
Get the original 925 silver nursing cups — reusable, easy to care for, and built to last through your entire breastfeeding journey.
Shop Silverette Nursing Cups →Edited by Dealnoran Team
Sources referenced in this guide:
- UC Davis Department of Chemistry — electrochemical reaction behind silver tarnish, chem.libretexts.org
- Silverette official product specifications, silveretteusa.com